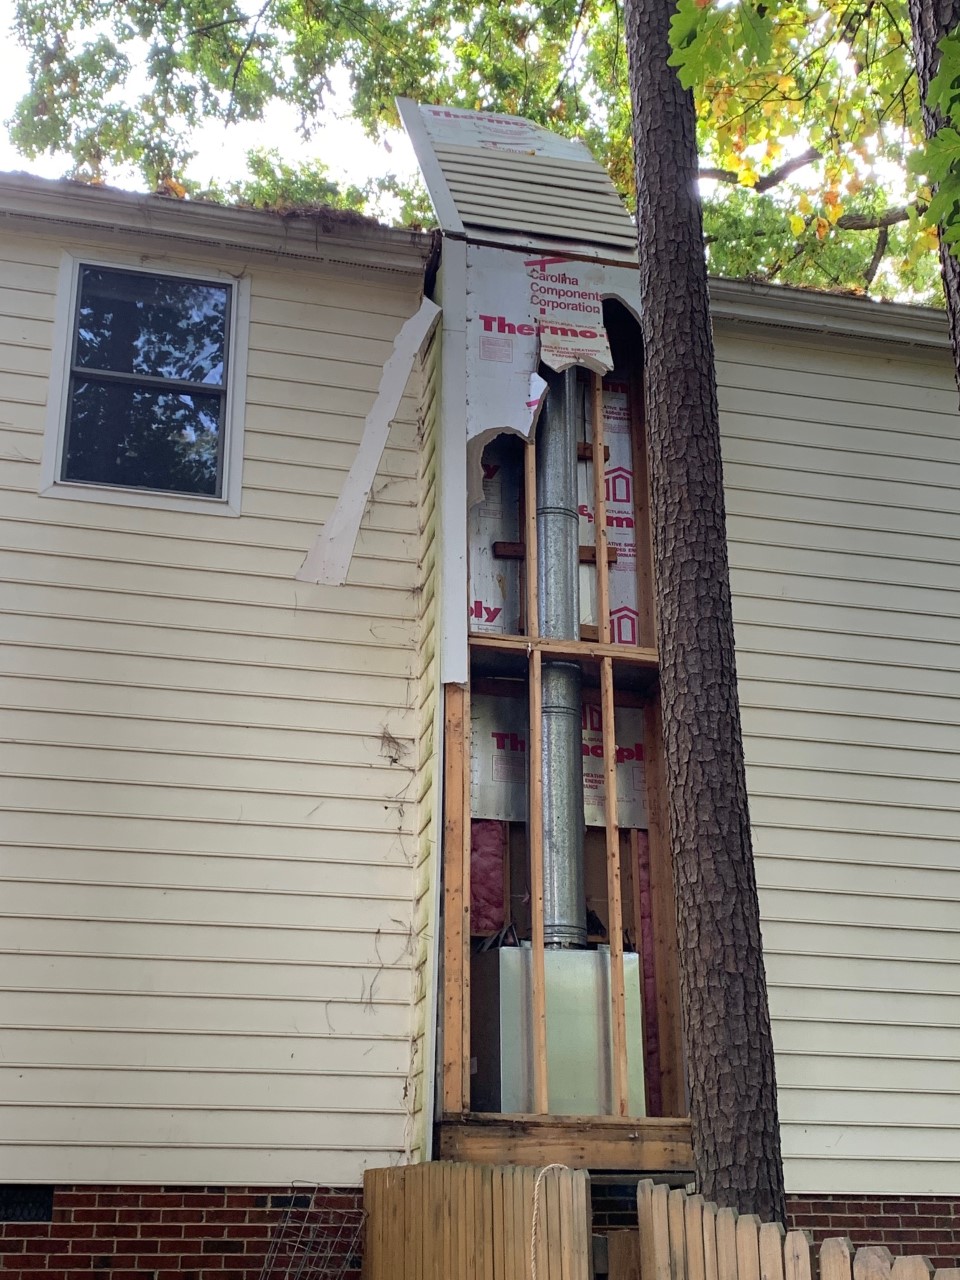
Chimneys are Dumb
The houses in my community were built in the late 1980s and are complete junk. There are several dumb things done back then from the Masonite siding to the polybutylene piping systems that people will eventually replace. In preparation for the roof, I tore down my junk chimney. As you can see from the pictures it was very easy to remove and we only used the fireplace once in 10 years. We replaced it with a large window that really brightens up the living room with a honeycomb blind that is supposed to be an R5 insulation value. The chimney removal also allowed for easier installation of the new roof, is a cleaner look, and is one less area for leaks and for leaves to hang up.
Removal
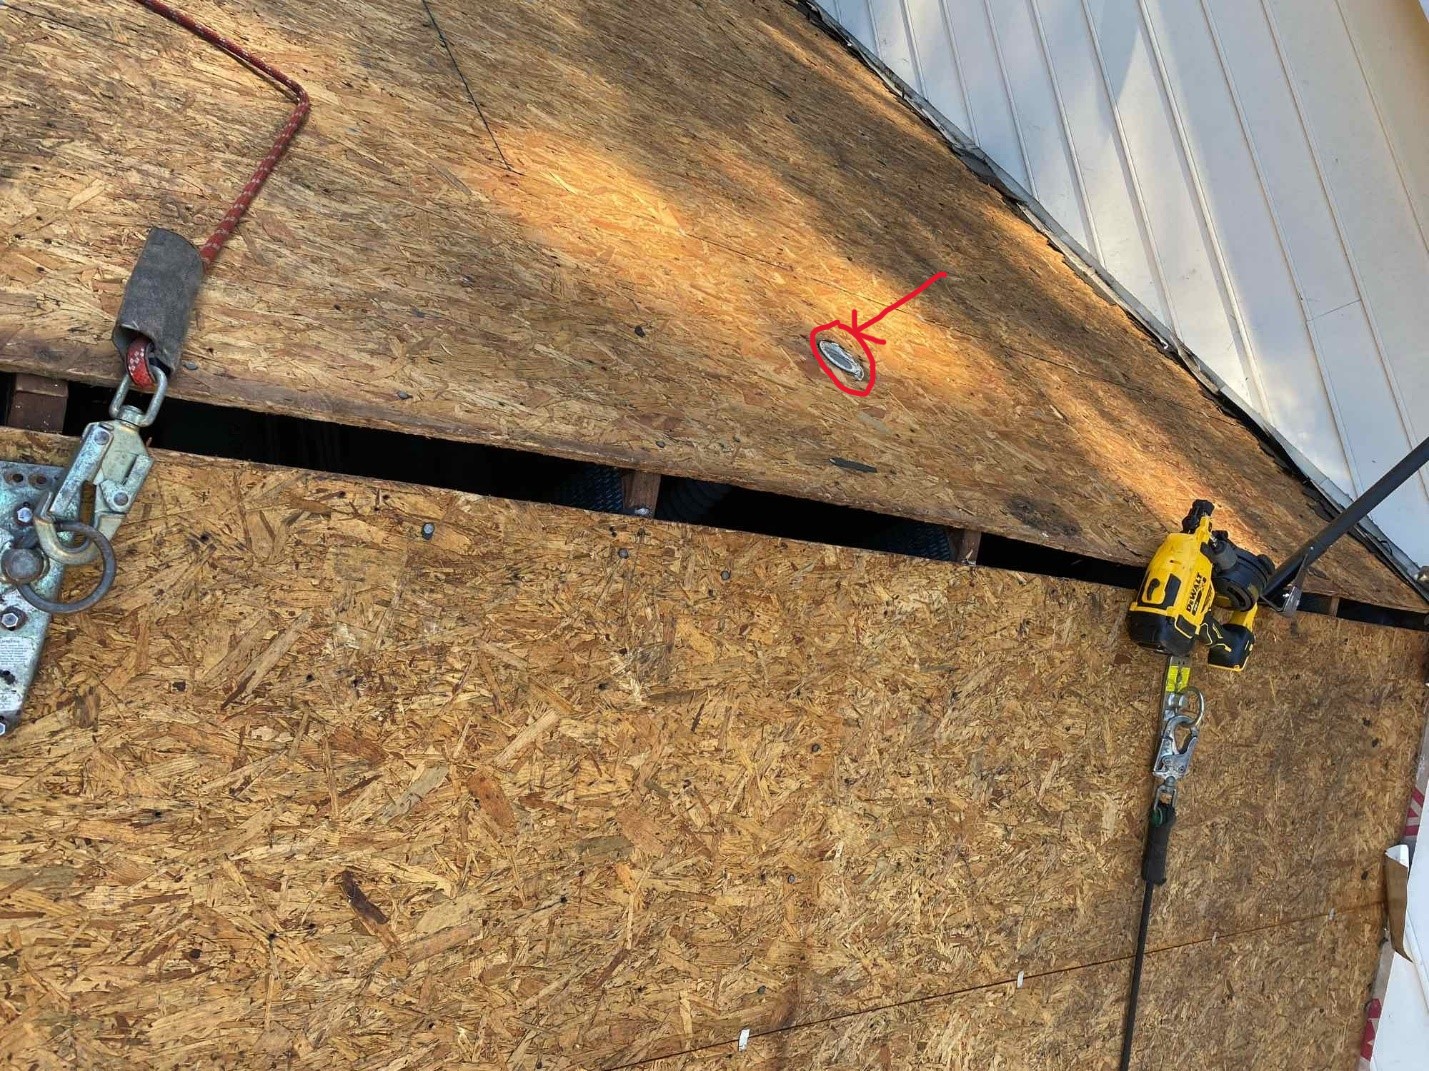
The first step of the solar roof installation was to remove the roof shingles that were over 30 years old. Tesla doesn’t do this if the roof shingles are newer but my roof was in bad shape. Over the last 5 years I was sealing around vents and replacing shingles as needed until I could get this roof. There are also no venting pipes coming through the roof from the bathrooms, one less place for a leak! Because there is almost a 2-inch gap between the roof decking, required for cooling, the bathroom vent tubes can all be cut flush with the roof decking. The rubber roofing is cut and formed so if there is ever water on the underlayment it would never get past the pipe and into your house. Very slick, makes the installation easier, and really cleans up the roof.
Underlayment
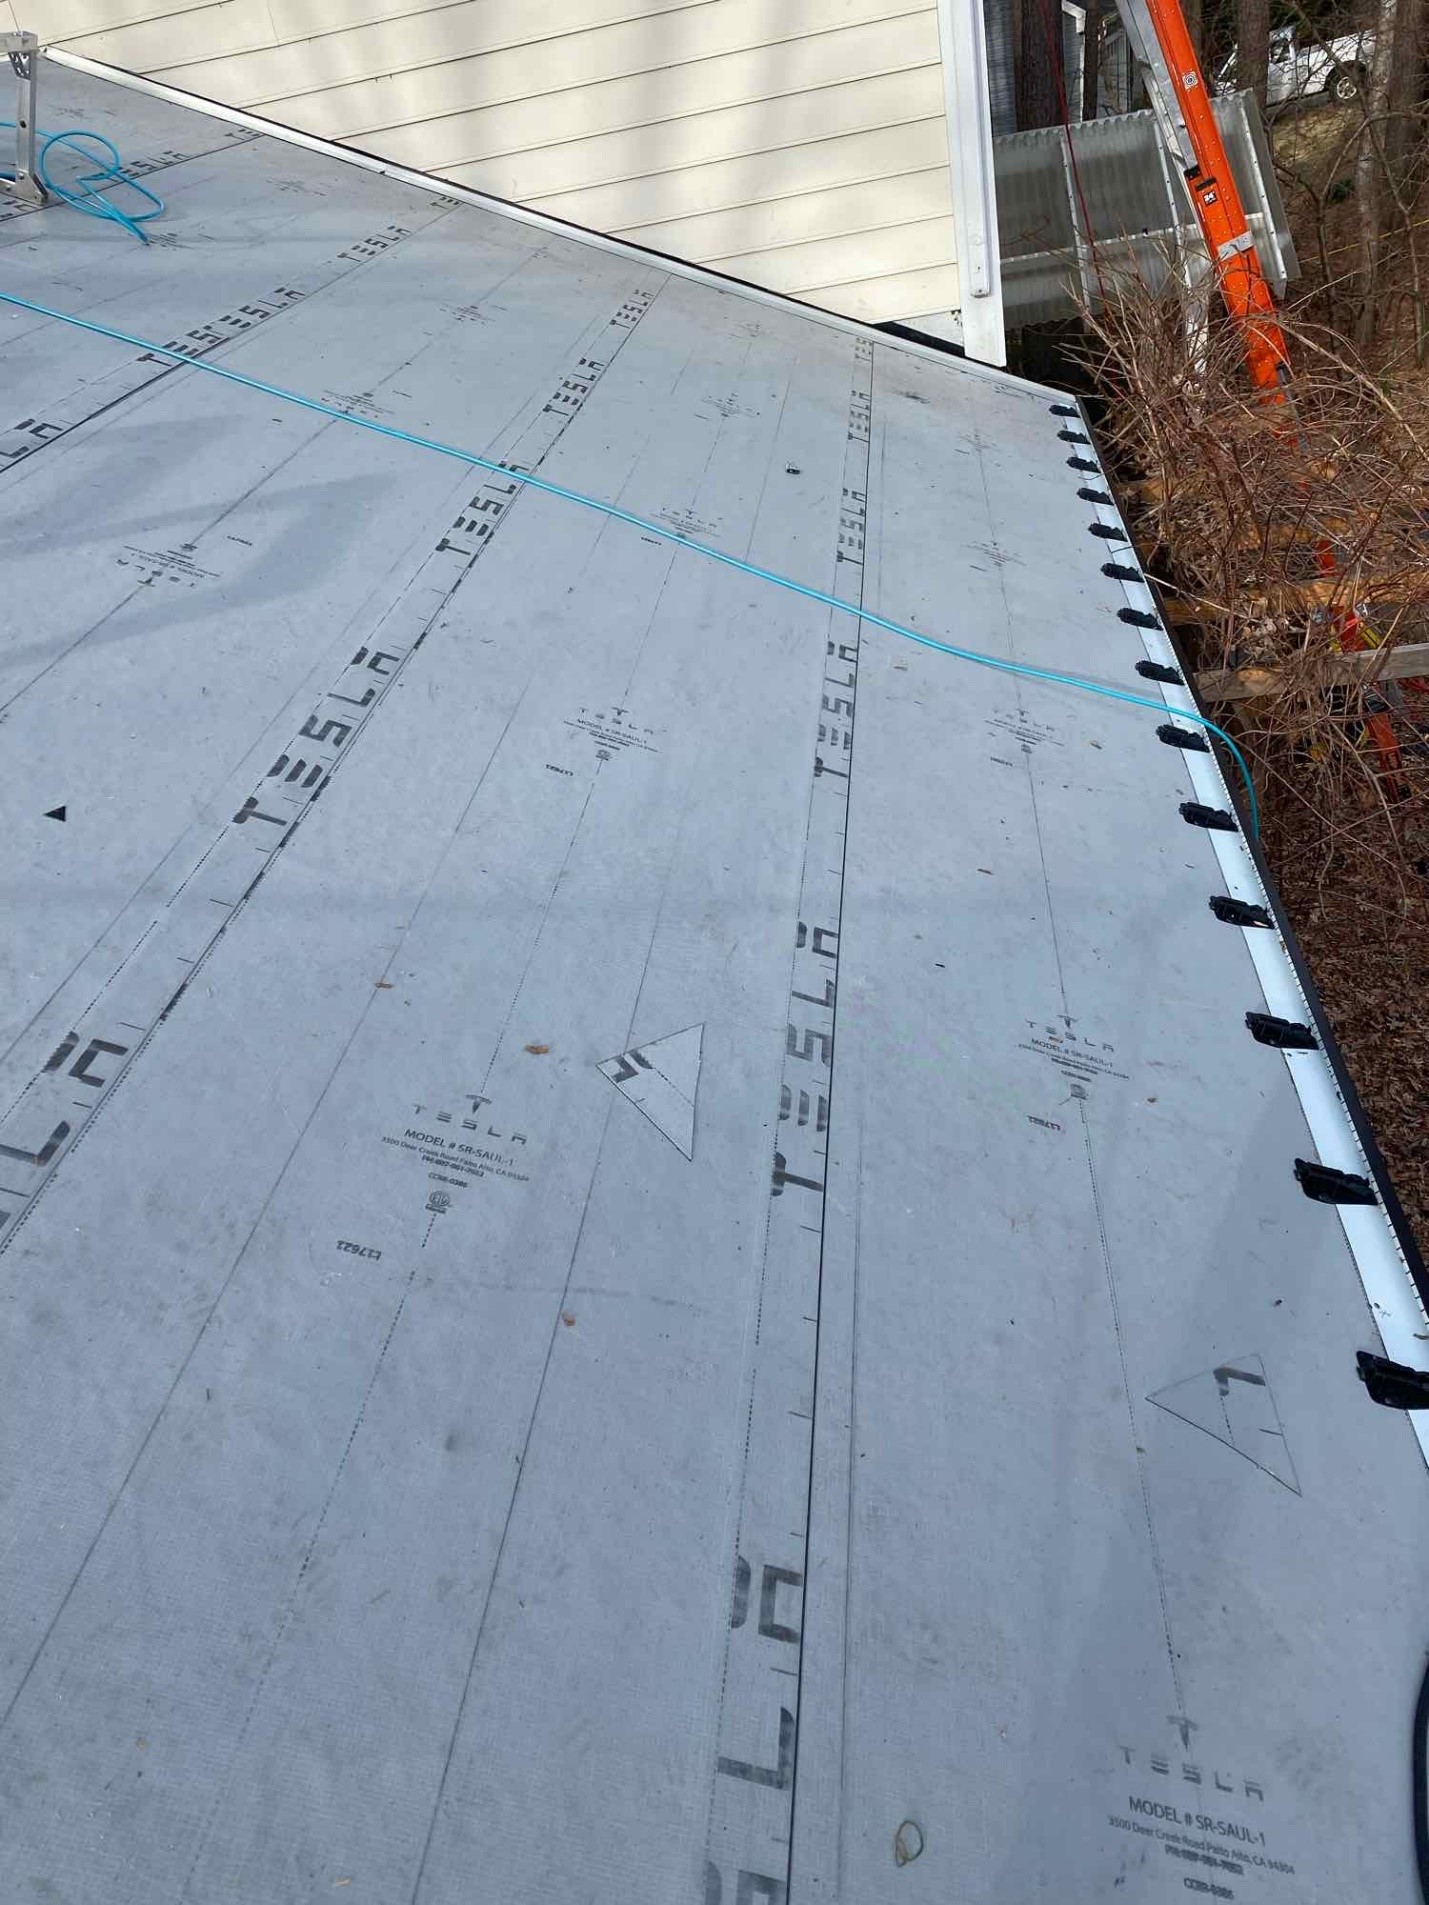
Once the old shingles are removed there is a rubber underlayment over the wood decking. This stuff is extremely sticky on one side and sticks the wood decking. It is really extremely tough and could serve as a standalone roof in itself. If there is ever a chance that water gets past the panels this material will shed the water into the gutters through the bottom vents, see the gutters section for pictures.
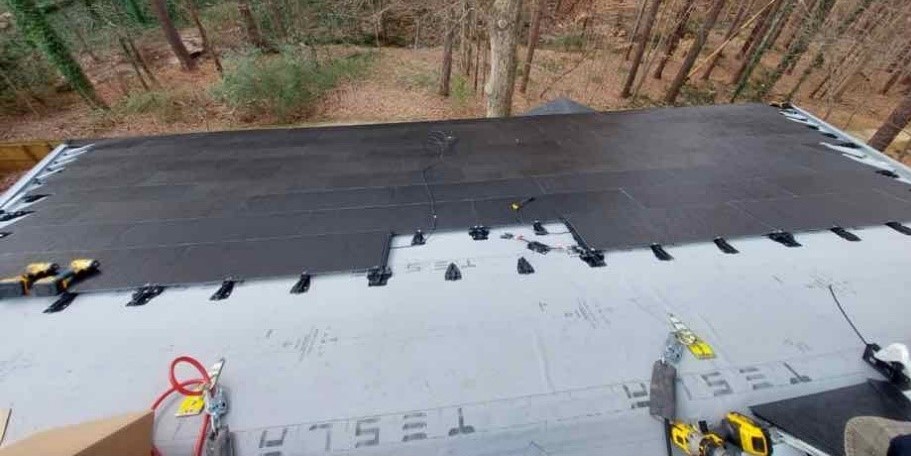
Installing the Panels
The solar roof tiles have metal tabs that clip into brackets that are nailed to the roof. It also allows for the panels to be removed. Using a rubber pry bar, with some force the tiles can be removed. These panels are very smooth and you would never go up there when they are wet. You can walk on the roof but they highly recommend wearing a harness and roping into a solid object. My roof has two spots on it that you pop the panel off and underneath, attached to the decking, are hooks to rope into. If you are a rock climber this roof is perfect for you.
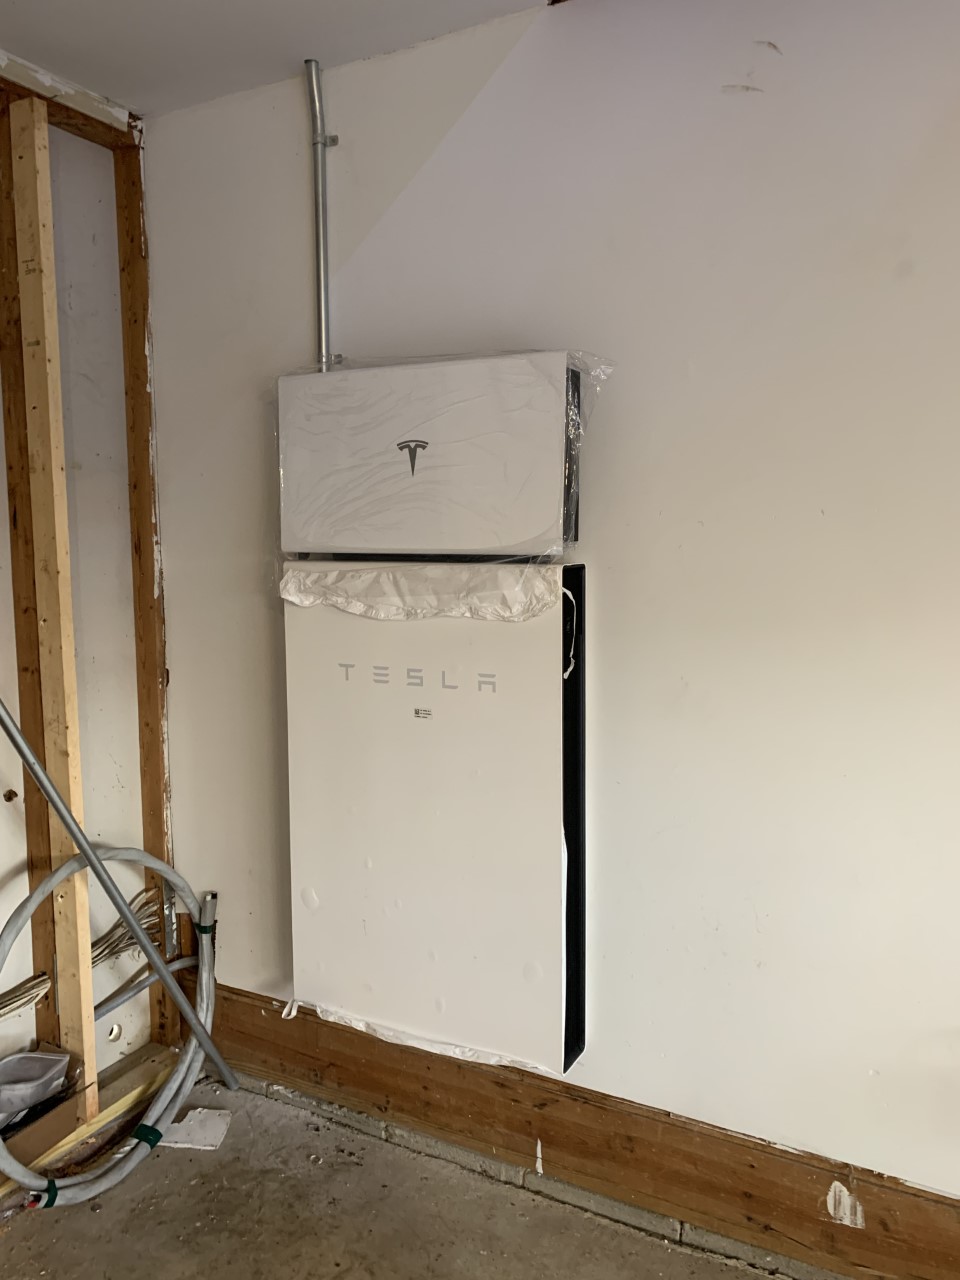
The PowerWall
The Powerwall goes near the panel and mine fit perfectly in the garage next to the electrical box. I cleaned up an area in the garage and painted the walls. There is also wiring running through the attic to the Powerwall.